How Do You Cut a Blouse for Beginners? | Easy Method Step By Step | Blouse Designs Arena
Cutting a blouse for beginners can be a fun adventure in the world of fashion. If you’re new to this, it means you’re starting to learn how to make clothes on your own. A magnificent upper garment that ravishes the looks of women in saree, lehenga, pants, and skirts is the blouse. A well-crafted and properly fitted blouse is needed to acquire the all attractive looks at any party or function. Now, do you know the crafting and fittings of a blouse depend on what patterns? Yes, Of course, it is cutting off the blouse design. A properly cut blouse will pave way for the suitable fittings and hence, accentuate your looks. The cutting patterns vary for various designs and styles. Here, we are going to discuss the basic cutting techniques and styles of a blouse for beginners.
How To Cut A Blouse For Beginners?
As discussed earlier, there is a variety of blouse designs and styles available in markets. After narrowing down your desired design, the cutting process begins. But, before cutting the blouse you need measurements and a paper pattern. The measurements needed are:
- The length of the shoulder
- Busts measurement
- The distance between the busts
- The distance from the shoulder to the busts
- Under the chest
- Over the chest
- The distance from the back’s top point to the lowest point
- Waist size
- The length of materials
After having the measurements, you need a paper pattern. The paper pattern is a sketch of the blouse design with all the inscriptions on a paper sheet that you are going to get cut and stitched. It includes the front and back patterns and embellishment styles of the blouse design.
Wash your fabric according to the manufacturer’s instructions and allow the fabric to dry. Also, iron it if there are any creases on the fabric. Now starts the cutting process that we are going to present to you in an easy and step-by-step manner.
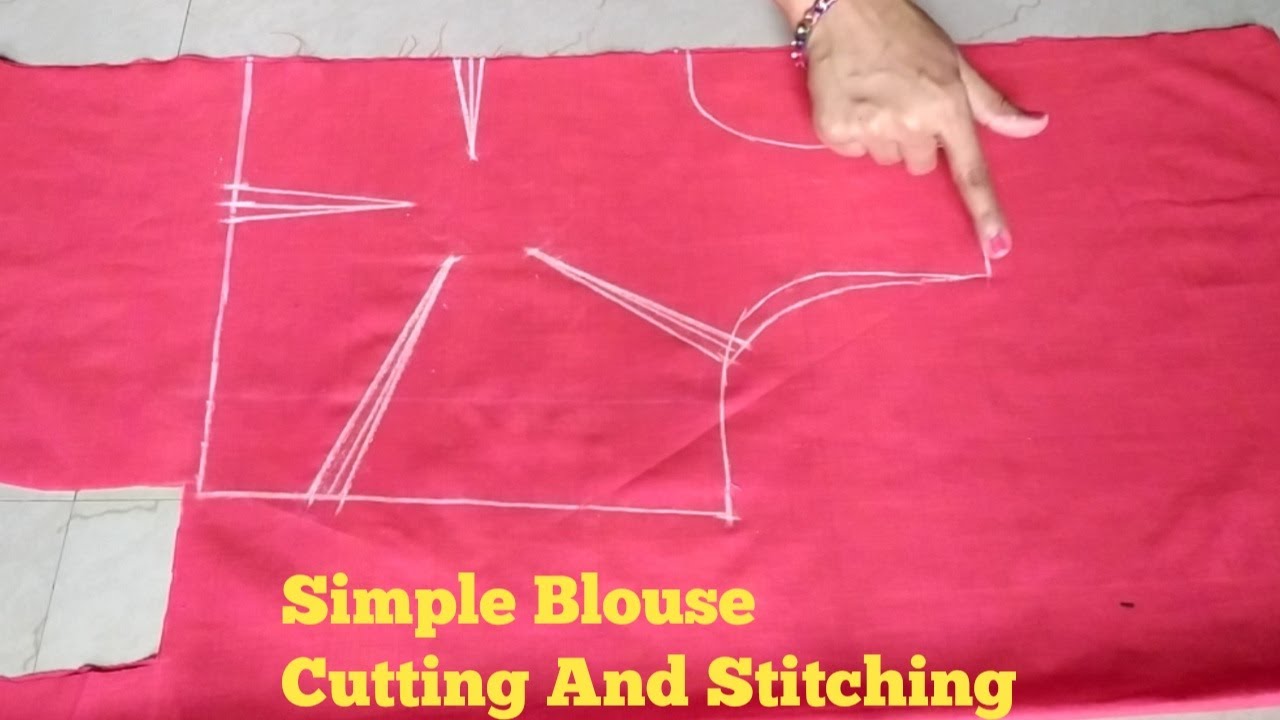
→ Fold the cloth four times, with the center remaining on the upper side in the left corner, and mark the line for the bottom cut. Now measure the radius and draw the circle, then measure the length required for the basques.
→ On the front side of the fabrics, cut some additional fabrics for the seams. Cut the fabric along line A, which denotes the center of the fabric. Lightly stretch the fabric and make a wide zigzag decorative stitch. Now carefully remove the fabric you don’t need.
→ Attach the details you cut from your paper pattern to the fabric. Fold the front side once and the back side twice to cut a blouse top. Make a single fold at the neck and just behind the neck.
→ Half-fold the fabric, and the front side remains inward. Now place the paper cuttings A, B, C, and D on the fabric. As indicated by dashed lines, parts B and C should remain overlaid on the fabric. You can use pins to hold the fabric. Add an extra 1.5 cm by using chalk for seams and cuts. Now cut the fabric according to the details.
→ Secure the parts in the center and fold the rear parts of the fabric from the front. Now add paper patterns and cut accordingly. The front parts should be folded face-to-face along the line. Secure the lines with pins to align the side cut with the center of the fabric. Secure the beginning of the line by gently pressing the stand.
→ Now, attach the panels, trim the parts, and join the lines to hook the shoulder parts. Uncover an extra fabric at the seams and process the inner side.
→ Now, perforate the neck openings that connect the shoulder seams. Gently adjust the details by securing the necklines. Sew the garage close to the neckline and cut off the excess fabric.
→ Remove the measurements of the armhole pieces now. Fold the edges of the armhole on the inner side and press them. Double-fold the welt next and fix it to the armhole pair with a pin. Then stitch from the inside.
→ Attach the front sides and pannel by securing the edges with a pin and trimming the parts. Attach the basque to the top and trim the areas.
Conclusion
The cutting patterns depend on simple mathematical calculations and drafting techniques. So, technical knowledge of the skills is required. The beginner must prepare the paper sketch and then follow the steps. As it is said, “practice makes the man perfect.”. By having more practical knowledge, you will master the techniques and become an icon. The creation of stylish blouse designs will be a matter of minutes for you.


